As a supplier of water well drilling rig trucks, I understand the importance of maintaining and replacing components to ensure the efficient operation of these powerful machines. One of the critical maintenance tasks is replacing the drilling bits. In this blog post, I'll share a detailed guide on how to replace the drilling bits on a water well drilling rig truck.
Understanding the Importance of Drilling Bits
Drilling bits are the cutting tools at the end of the drill string that break through the ground to create a wellbore. They come in various types, including drag bits, roller cone bits, and diamond bits, each designed for different geological conditions. Over time, the cutting edges of the bits wear down, reducing their effectiveness and increasing the time and energy required to drill. Regularly replacing worn bits is essential for maintaining drilling efficiency and reducing operational costs.

Pre - replacement Preparations
Before you start replacing the drilling bits, it's crucial to take several preparatory steps:
- Safety First: Ensure that the drilling rig truck is parked on a stable and level surface. Turn off the engine and all power sources to prevent accidental startup. Wear appropriate personal protective equipment (PPE), such as hard hats, safety glasses, gloves, and steel - toed boots.
- Gather Tools: You'll need a set of tools, including wrenches, pipe tongs, and a bit breaker. Make sure all tools are in good condition and of the correct size for the job.
- Inspect the New Bit: Examine the new drilling bit for any damage or defects. Check the cutting edges, the shank, and the threads to ensure they meet the specifications.
Step - by - Step Guide to Replacing Drilling Bits
Step 1: Remove the Drill String from the Hole
- Use the rig's hoisting system to slowly lift the drill string out of the wellbore. As the drill string is lifted, make sure to support it properly to prevent it from swinging or falling.
- Once the drill string is out of the hole, clean the exposed threads on the bottom of the drill pipe.
Step 2: Disconnect the Old Bit
- Position the bit breaker over the old drilling bit. The bit breaker is a tool designed to grip the bit and allow you to apply torque to loosen it.
- Use pipe tongs or a wrench to turn the drill pipe counter - clockwise. This will loosen the connection between the drill pipe and the old bit.
- Once the bit is loose, carefully remove it from the drill pipe. Be aware that the bit may be heavy and awkward to handle, so use proper lifting techniques.
Step 3: Prepare the Drill Pipe for the New Bit
- Inspect the threads on the drill pipe for any damage or debris. If necessary, clean the threads using a wire brush or a thread cleaner.
- Apply a small amount of thread compound to the threads of the drill pipe. This will help to create a tight and secure connection between the drill pipe and the new bit.
Step 4: Install the New Bit
- Carefully align the new drilling bit with the drill pipe. Make sure the threads on the bit and the drill pipe are properly engaged.
- Use the bit breaker and pipe tongs to turn the drill pipe clockwise, tightening the connection between the drill pipe and the new bit. Tighten the bit to the manufacturer's recommended torque specification. Over - tightening can damage the threads, while under - tightening can cause the bit to come loose during drilling.
Step 5: Lower the Drill String Back into the Hole
- Once the new bit is installed, use the hoisting system to lower the drill string back into the wellbore. Lower the drill string slowly and carefully, making sure it remains centered in the hole.
Troubleshooting Tips
- Difficulty Loosening the Old Bit: If the old bit is difficult to loosen, you may need to apply more torque using the bit breaker and pipe tongs. In some cases, you may need to use a torch to heat the connection slightly to expand the metal and make it easier to loosen. However, be careful not to over - heat the bit or the drill pipe, as this can cause damage.
- Thread Damage: If you notice damage to the threads on the drill pipe or the bit, it may be necessary to repair or replace the damaged components. Using damaged threads can lead to a weak connection and potential failure during drilling.
Our Product Range
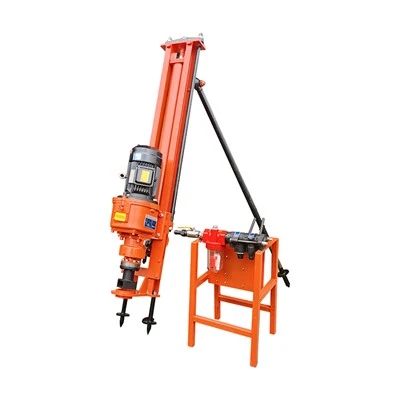
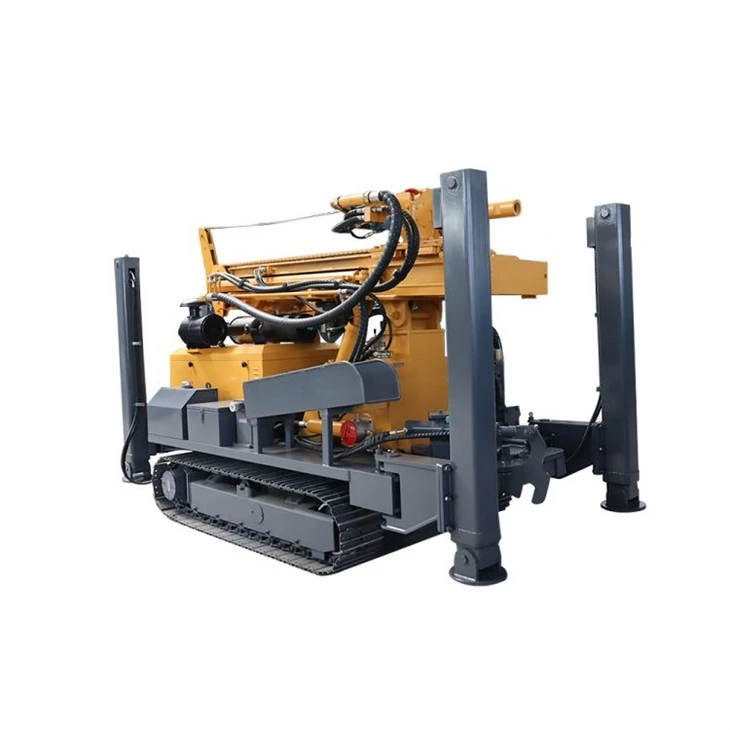
As a supplier, we offer a wide range of water well drilling rigs to meet different customer needs. Our Tractor Mounted Water Well Drilling Rig is a popular choice for its portability and versatility. It can be easily attached to a tractor, making it suitable for small - to - medium - scale water well drilling projects.
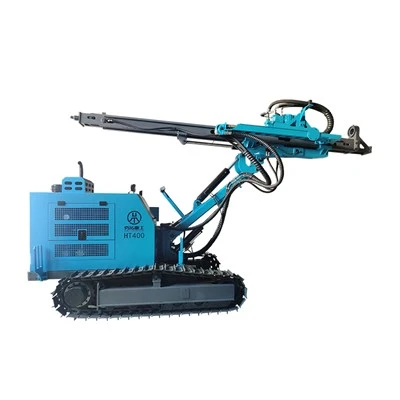
For deeper wells, our 200m Water Well Drilling Rig is designed to reach depths of up to 200 meters. It features advanced drilling technology and high - quality components to ensure efficient and reliable operation.
Contact Us for Purchase and Consultation
If you're in the market for a water well drilling rig truck or need more information about drilling bit replacement and maintenance, we're here to help. Our team of experts can provide you with detailed product information, technical support, and customized solutions to meet your specific requirements. Whether you're a professional drilling contractor or a DIY enthusiast, we have the products and knowledge to assist you.
References
- "Drilling Engineering Handbook" by John Doe
- Manufacturer's manuals for water well drilling rig trucks
- Industry standards and guidelines for drilling bit replacement and maintenance