In the process of water well drilling, the drill bit on a water well drill rig truck is a crucial component that endures significant wear and tear. Over time, this wear can reduce drilling efficiency and quality, making it necessary to replace the drill bit. As a trusted water well drill rig truck supplier, we understand the importance of this task and are here to guide you through the process step by step.
1. Preparation Work
Before replacing the drill bit, thorough preparation is essential to ensure a smooth and safe operation. First, you need to gather the necessary tools. These typically include a wrench set, pipe tongs, and a safety harness. The wrench set is used to loosen and tighten bolts, while pipe tongs are crucial for gripping and turning drill pipes. The safety harness is a must - have for protecting the operator when working on the drill rig.
Next, it is crucial to ensure the safety of the working environment. The drill rig should be parked on a flat and stable surface. Turn off the engine and all power sources of the drill rig truck to prevent any accidental start - up during the replacement process. Also, make sure to wear appropriate personal protective equipment (PPE), such as safety glasses, gloves, and hard hats.
2. Removing the Old Drill Bit
Once the preparations are complete, you can start removing the old drill bit. Locate the connection point between the drill bit and the drill pipe. Usually, this connection is a threaded joint. Use the pipe tongs to firmly grip the drill pipe just above the drill bit. Make sure the grip is tight enough to prevent slippage.
Then, use a suitable wrench to loosen the nut or bolt that secures the drill bit to the drill pipe. Turn the wrench counter - clockwise. Depending on the type of drill rig and drill bit, you may need to use a large - sized wrench due to the high torque required to loosen the connection.
As the connection is loosened, slowly separate the drill bit from the drill pipe. Be careful during this process, as the drill bit may be heavy and awkward to handle. If necessary, use a lifting device to assist in removing the drill bit safely.
3. Selecting the Right New Drill Bit
Choosing the appropriate new drill bit is vital for the success of your drilling project. There are several factors to consider when making this selection. The first factor is the type of soil or rock formation you will be drilling through. For soft soil, a drill bit with a wider cutting edge may be more suitable, as it can quickly cut through the material. On the other hand, when drilling through hard rock, a drill bit with a more robust and durable design, such as a diamond - tipped drill bit, is recommended.
Another important consideration is the size of the drill bit. The diameter of the drill bit should match the requirements of the water well. If the drill bit is too small, it may not be able to create a well of the desired diameter. Conversely, if it is too large, it may cause unnecessary wear on the drill rig and increase the drilling time and cost.
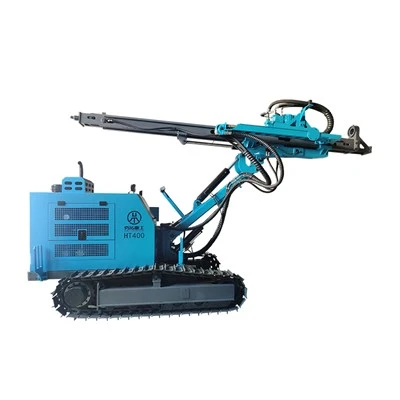
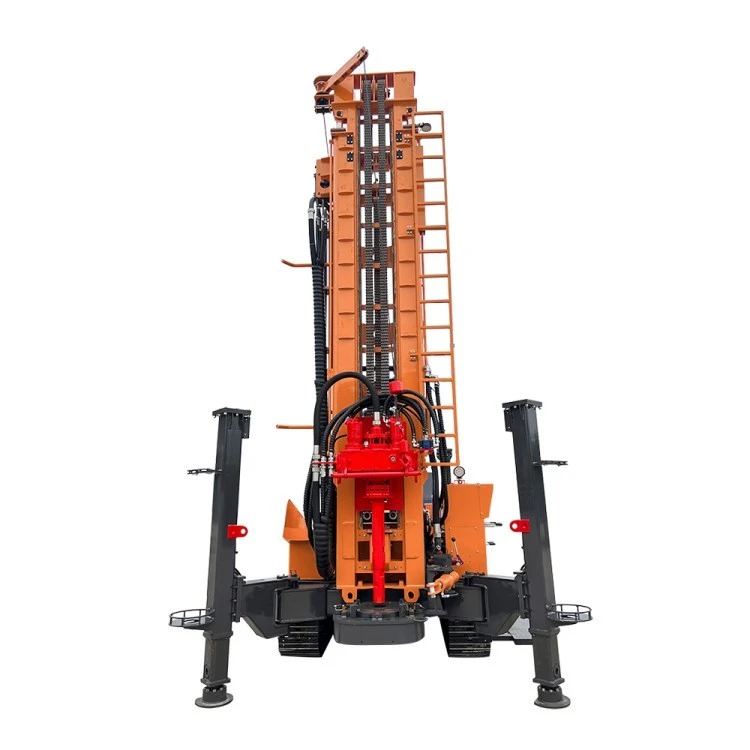
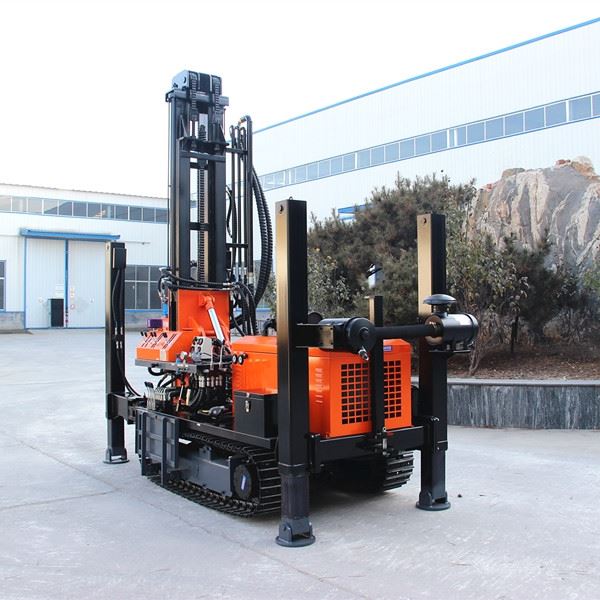
As a water well drill rig truck supplier, we offer a wide range of high - quality drill bits to meet different drilling needs. You can explore our Deep water well drilling machine, Crawler Water Well Drilling Rig, and Wheels Hydraulic Water Well Drilling Rig products, which are all equipped with suitable drill bits for different applications.
4. Installing the New Drill Bit
After selecting the right new drill bit, it's time to install it. First, carefully clean the end of the drill pipe to ensure there is no dirt, debris, or old lubricant on the threaded part. This will ensure a proper and tight connection between the drill pipe and the new drill bit.
Apply a small amount of suitable lubricant to the threads of the drill pipe and the drill bit. This will not only make it easier to install the drill bit but also protect the threads from damage due to friction. Then, align the drill bit with the end of the drill pipe and start to thread it on. Turn the drill bit clockwise by hand as much as possible to ensure the initial alignment.
Once the drill bit is hand - tightened, use the pipe tongs to grip the drill bit firmly. Then, use the wrench to tighten the nut or bolt that secures the drill bit to the drill pipe. Tighten it to the recommended torque value specified by the drill bit manufacturer. Over - tightening can damage the drill bit or the drill pipe, while under - tightening may cause the drill bit to come loose during drilling, which is extremely dangerous.
5. Testing the New Drill Bit
After installing the new drill bit, it is essential to conduct a test before resuming full - scale drilling. First, carefully inspect all connections to ensure they are tight and secure. Check for any signs of leakage or looseness.
Re - start the engine and power on the drill rig. Slowly raise and lower the drill pipe to check the movement of the drill bit. Make sure the drill bit rotates smoothly without any abnormal vibrations or noises. If you notice any issues, stop the drill rig immediately and re - check the installation of the drill bit.
If the test is successful, you can start to resume the normal drilling process. During the initial drilling, closely monitor the performance of the drill bit and the drill rig. Pay attention to the drilling speed, torque, and any other parameters. Any significant changes in these parameters may indicate a problem with the drill bit or the installation.
6. Maintenance Tips after Replacement
To ensure the long - term performance of the new drill bit, proper maintenance is necessary. After each drilling operation, clean the drill bit thoroughly to remove any dirt, rock debris, or other contaminants. This can prevent corrosion and damage to the drill bit.
Regularly inspect the drill bit for signs of wear. Check the cutting edges for blunting, cracks, or other damage. If any issues are found, replace the drill bit promptly to avoid affecting the drilling efficiency and quality.
Also, store the drill bit in a dry and clean environment when it is not in use. This can prevent rust and other forms of damage.
Conclusion
Replacing the drill bit on a water well drill rig truck is a task that requires careful preparation, proper tools, and correct procedures. As a water well drill rig truck supplier, we are dedicated to providing high - quality products and professional guidance to our customers. Whether you need help with drill bit replacement or want to purchase a new water well drill rig truck, we are here to assist you. If you are interested in our products and services, don't hesitate to contact us for a purchase negotiation.
References
- "Handbook of Water Well Drilling Equipment", published by a well - known industry publisher.
- Manufacturer's manuals of different water well drill rig trucks and drill bits.