Hey there! As a supplier of down the hole drilling equipment, I often get asked about how to install the mast for down the hole drilling. It's a crucial step in setting up your drilling rig, and getting it right can make a huge difference in your drilling operations. So, let's dive into the process and break it down step by step.
Pre - installation Checks
Before you even start the installation process, you need to do a few checks. First off, make sure you've got all the necessary tools on hand. You'll typically need wrenches, sockets, a torque wrench, and maybe a crane or some lifting equipment depending on the size of the mast.
Inspect the mast thoroughly for any signs of damage. Look for cracks, bent parts, or any loose components. If you find anything wrong, it's better to address it before installation. Check the rig's base as well. It should be level and stable. An uneven base can cause all sorts of problems during drilling and even pose a safety risk.
Unloading and Positioning the Mast
Once you've done your checks, it's time to unload the mast from the transport vehicle. If you're using a crane, make sure the lifting points on the mast are properly attached to the crane's hooks. Follow the manufacturer's guidelines for the correct lifting points.
Position the mast near the rig's base. You want to place it in a way that it aligns with the mounting points on the base. This might take a bit of maneuvering, so be patient. You can use a forklift or other equipment to help with the positioning if needed.
Connecting the Mast to the Base
Now comes the actual connection part. Start by aligning the holes on the mast with the holes on the rig's base. This can be a bit tricky, especially if the mast is heavy. You might need a few people to help guide it into place.

Once the holes are aligned, insert the bolts. Don't fully tighten them yet. Just get them in place so that the mast is loosely attached to the base. This allows you to make any final adjustments to the alignment.
Use a torque wrench to tighten the bolts to the manufacturer's specified torque settings. Over - tightening can damage the bolts or the mast, while under - tightening can lead to a loose connection. Make sure to tighten the bolts in a criss - cross pattern to ensure even distribution of the load.
Installing Hydraulic and Electrical Connections
Most modern down the hole drilling masts have hydraulic and electrical systems. These are essential for the operation of the mast, such as raising and lowering it, and controlling the drilling equipment.
Start with the hydraulic connections. Make sure the hoses are clean and free of debris. Connect the hoses to the appropriate ports on the mast and the rig's hydraulic system. Use the correct fittings and tighten them securely to prevent leaks.
For the electrical connections, follow the wiring diagram provided by the manufacturer. Connect the cables to the mast's electrical components, such as motors and sensors. Double - check all the connections to ensure they are properly seated and insulated.
Testing the Mast
After you've completed all the installations, it's time to test the mast. Start by powering on the rig and checking the hydraulic and electrical systems. Look for any signs of leaks, abnormal noises, or electrical malfunctions.
Raise and lower the mast slowly. Observe its movement. It should move smoothly without any jerks or wobbling. If you notice any issues, stop the operation immediately and troubleshoot the problem.
Check the functionality of any additional features on the mast, such as the drill feed system. Make sure it can move the drill bit up and down as required.
Maintenance and Safety Tips
Once the mast is installed and tested, it's important to keep up with regular maintenance. Check the bolts periodically for tightness, especially after the first few drilling operations. Inspect the hydraulic hoses for signs of wear and tear, and replace them if necessary.
Always follow safety procedures when working around the mast. Wear appropriate safety gear, such as hard hats, safety glasses, and steel - toed boots. Make sure the area around the rig is clear of any obstacles during operation.
Our Down the Hole Drilling Equipment
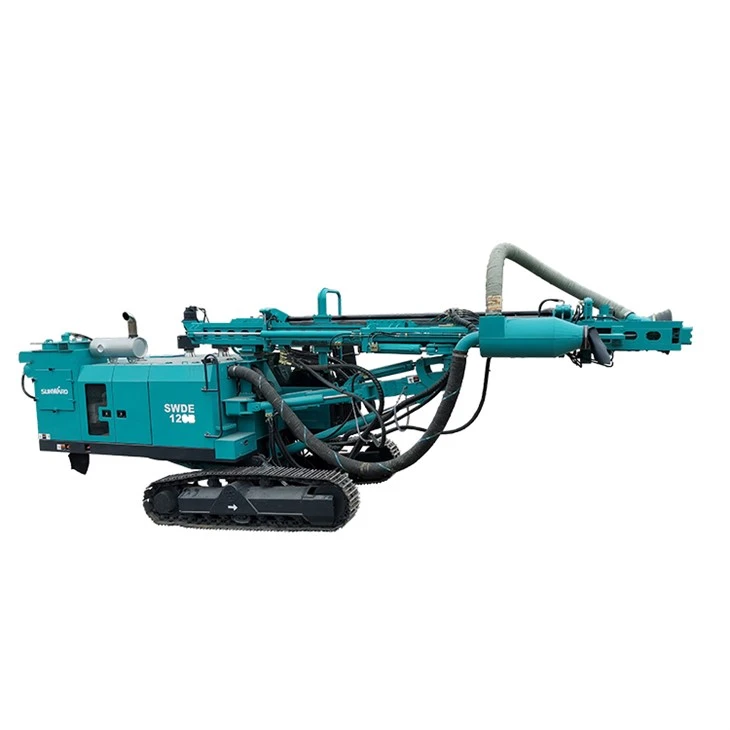
At our company, we offer a wide range of down the hole drilling equipment. If you're in the market for a new rig, we've got some great options. Check out our Crawler down the hole Drill Rig, which is perfect for open - air drilling operations. It's designed for high - performance and reliability.
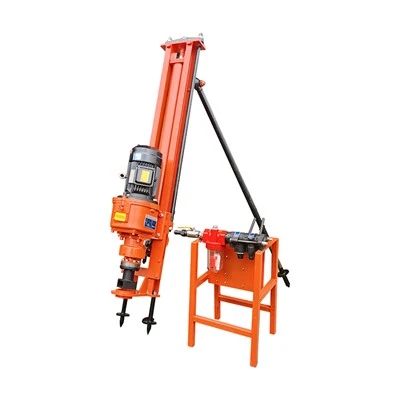
We also have a surface dth drill rig that is portable and easy to set up. This rig is great for smaller projects or sites where mobility is key.
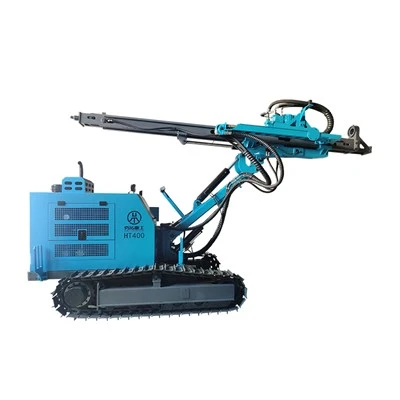
And if you're looking for a different type of drilling rig, our top hammer surface drill rig offers excellent performance for rock drilling in open - pit mines.
If you're interested in any of our products or have questions about the mast installation process, don't hesitate to reach out. We're here to help you with all your down the hole drilling needs. Whether you're a small - scale contractor or a large mining company, we've got the equipment and expertise to support your operations.
Conclusion
Installing the mast for down the hole drilling is a multi - step process that requires careful planning and attention to detail. By following the steps outlined above, you can ensure a successful installation and a safe and efficient drilling operation. If you have any further questions or need more information about our down the hole drilling equipment, feel free to contact us. We're always happy to assist you in finding the right solution for your drilling projects.
References
- Manufacturer's manuals for down the hole drilling rigs
- Industry best practices for mast installation in drilling operations