Hey there! I'm a supplier of drilling rods, and I've seen firsthand how crucial it is to install them correctly. A proper installation not only ensures the efficiency of your drilling operations but also extends the lifespan of the drilling rod. In this blog, I'll walk you through the steps of correctly installing a drilling rod.
Before You Start
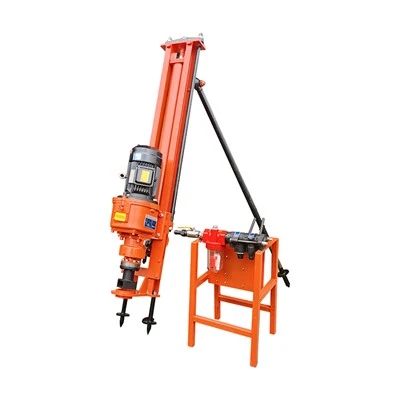
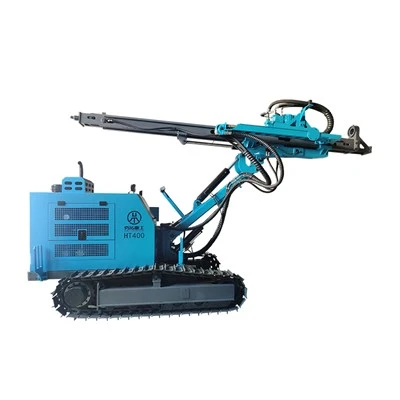
Before you even think about installing a drilling rod, there are a few things you need to do. First off, you gotta check the drilling equipment. Make sure the drilling rig is in good working condition. Look for any signs of wear and tear on the components like the chuck, which holds the drilling rod. If there are any issues, get them fixed before you proceed.
You also need to choose the right type of drilling rod for your project. There are different kinds out there, like Rock Drilling Rig, Top Hammer Drill Rods, and Geotechnical Drill Rod. Each type is designed for specific drilling conditions. For example, if you're drilling in hard rock, a rock drilling rig rod might be your best bet.
Another important step is to clean the threads of both the drilling rod and the drilling equipment. Dirt, debris, or rust on the threads can prevent a proper connection and lead to problems during installation and operation. Use a wire brush or a suitable cleaning agent to get the threads nice and clean.
Installation Process
Step 1: Prepare the First Rod
Once you've got everything ready, it's time to start with the first drilling rod. Carefully lift the rod and align it with the chuck of the drilling rig. Make sure it's straight and centered. You don't want it to be off - center, as this can cause uneven wear and affect the drilling performance.
Step 2: Tighten the Connection
After aligning the rod, start tightening the chuck. Use the appropriate tool, like a wrench, to make sure the rod is securely held in place. But don't over - tighten it. Over - tightening can damage the threads of the rod and the chuck, leading to costly repairs down the line. A good rule of thumb is to tighten it just enough so that the rod doesn't move during normal drilling operations.
Step 3: Adding Additional Rods
If your drilling project requires multiple rods, you'll need to add them one by one. When adding a new rod, first clean the threads of both the end of the existing rod and the new rod. Then, apply a small amount of thread compound. This helps to create a better seal and reduces the risk of the rods coming loose during drilling.
Next, align the new rod with the end of the existing rod. You might need to use a helper to hold the new rod in place while you make the connection. Slowly screw the new rod onto the existing one. Turn it clockwise until it's hand - tight. Then, use a rod coupling tool to give it a final, firm tightening.
Step 4: Check the Alignment
After adding each new rod, it's essential to check the alignment of the entire drill string. Use a level or a straightedge to make sure the rods are in a straight line. Misaligned rods can cause excessive vibration, which can damage the rods and the drilling equipment, and also affect the quality of the drill hole.
During Installation
While you're in the process of installing the drilling rod, there are a few things you need to keep an eye on. First, watch out for any signs of resistance when screwing the rods together. If you feel a lot of resistance, stop and check for debris or damage on the threads.


Also, pay attention to the torque. You can use a torque wrench to measure the torque applied when tightening the rods. This helps to ensure that you're tightening them to the correct specifications.
Another thing is to make sure that the rods are properly lubricated. Lubrication reduces friction between the threads, making it easier to install and remove the rods, and also helps to prevent corrosion.
After Installation
Once you've installed all the drilling rods, do a final check. Make sure all the connections are tight and secure. Check for any signs of misalignment or damage.
Before you start drilling, run a test operation. Start the drilling rig at a low speed and see how the drill string behaves. Look for any abnormal vibrations or noises. If you notice anything unusual, stop the operation immediately and investigate the problem.
Common Mistakes to Avoid
One of the most common mistakes is not cleaning the threads properly. As I mentioned earlier, dirty or rusty threads can prevent a proper connection. Another mistake is over - tightening or under - tightening the rods. Over - tightening can damage the threads, while under - tightening can cause the rods to come loose during drilling.
Some people also forget to check the alignment of the drill string. Misaligned rods can lead to all sorts of problems, so it's crucial to check the alignment at every step of the installation process.
Conclusion
Installing a drilling rod correctly is not as difficult as it might seem, but it does require attention to detail. By following the steps I've outlined in this blog, you can ensure a proper installation that will improve the efficiency of your drilling operations and extend the lifespan of your drilling rods.
If you're in the market for high - quality drilling rods or have any questions about installation, don't hesitate to reach out. We're here to help you with all your drilling rod needs. Whether you're working on a small - scale project or a large - scale industrial drilling operation, we've got the right products for you. Contact us today to start a discussion about your requirements and let's find the best drilling rod solutions together.
References
- Industry standards and guidelines for drilling rod installation
- Manufacturer's manuals for drilling equipment and rods