Troubleshooting water well drilling equipment is a crucial skill for anyone involved in the water well drilling industry. As a water well drilling equipment supplier, I've encountered various issues over the years and have developed effective strategies to address them. In this blog post, I'll share some common problems with water well drilling equipment and provide step - by - step guidance on how to troubleshoot them.

1. Engine - related Problems
Lack of Power
One of the most common issues with water well drilling equipment is a lack of engine power. This can be caused by several factors, including a clogged air filter, fuel system problems, or a malfunctioning ignition system.
- Check the Air Filter: A dirty air filter restricts the flow of air into the engine, reducing its power. Remove the air filter and inspect it. If it's dirty, clean or replace it according to the manufacturer's instructions.
- Inspect the Fuel System: Check the fuel tank for debris or water. A clogged fuel filter can also cause power issues. Replace the fuel filter if it's dirty. Ensure that the fuel lines are not kinked or damaged, as this can impede fuel flow.
- Examine the Ignition System: A faulty spark plug or ignition coil can lead to a weak spark, resulting in poor engine performance. Check the spark plug for wear and tear and replace it if necessary. Test the ignition coil using a multimeter to ensure it's functioning properly.
Overheating
Engine overheating is another serious problem that can cause significant damage if not addressed promptly.
- Check the Coolant Level: Low coolant levels can cause the engine to overheat. Locate the coolant reservoir and check the level. If it's low, add the appropriate coolant mixture as recommended by the manufacturer.
- Inspect the Cooling System: Look for leaks in the radiator, hoses, or water pump. A leak can cause a loss of coolant, leading to overheating. Replace any damaged components.
- Clean the Radiator: A dirty radiator can block the flow of air, reducing its cooling efficiency. Use a soft brush or compressed air to clean the radiator fins.
2. Drill Bit and Tooling Issues
Bit Wear
The drill bit is one of the most critical components of water well drilling equipment. Excessive bit wear can slow down the drilling process and reduce the quality of the well.
- Inspect the Bit Regularly: After each drilling session, examine the drill bit for signs of wear. Look for dull or chipped cutting edges. If the bit is worn beyond the recommended limit, replace it with a new one.
- Choose the Right Bit for the Formation: Different formations require different types of drill bits. Using the wrong bit can cause premature wear. Consult the manufacturer's guidelines or an experienced driller to select the appropriate bit for the specific formation.
Tooling Breakage
Tooling breakage can occur due to excessive stress, improper installation, or low - quality materials.
- Check for Proper Installation: Ensure that all drill tools are properly installed and tightened. Loose connections can cause vibrations, leading to tool breakage.
- Inspect the Tooling for Damage: Before and after each use, examine the drill rods, couplings, and other tooling components for cracks or other signs of damage. Replace any damaged parts immediately.
3. Hydraulic System Problems
Low Hydraulic Pressure
The hydraulic system is responsible for powering many of the functions of water well drilling equipment, such as the drill rotation and the raising and lowering of the drill string.
- Check the Hydraulic Fluid Level: Low hydraulic fluid levels can result in low pressure. Locate the hydraulic fluid reservoir and check the level. If it's low, add the recommended hydraulic fluid.
- Inspect for Leaks: Look for hydraulic fluid leaks around the hoses, fittings, and cylinders. A leak can cause a loss of pressure. Tighten any loose fittings or replace damaged hoses.
- Test the Hydraulic Pump: A faulty hydraulic pump can also cause low pressure. Use a pressure gauge to test the pump output. If the pressure is below the specified range, the pump may need to be repaired or replaced.
Excessive Noise in the Hydraulic System
Unusual noises in the hydraulic system can indicate problems such as cavitation, air in the system, or worn components.
- Bleed the Hydraulic System: Air in the hydraulic system can cause noise and poor performance. Follow the manufacturer's instructions to bleed the air from the system.
- Check for Cavitation: Cavitation occurs when the hydraulic fluid vaporizes due to low pressure. This can cause damage to the pump and other components. Check the hydraulic fluid for signs of foaming or aeration. If cavitation is suspected, address the underlying cause, such as a clogged filter or low fluid level.
4. Electrical System Malfunctions
Dead Battery
A dead battery can prevent the equipment from starting.
- Check the Battery Connections: Ensure that the battery terminals are clean and tight. Corrosion on the terminals can cause a poor connection, preventing the battery from charging or discharging properly. Use a wire brush to clean the terminals.
- Test the Battery: Use a battery tester to check the battery's charge level and overall condition. If the battery is old or not holding a charge, replace it.
- Inspect the Charging System: A faulty alternator or charger can prevent the battery from charging. Test the charging system using a multimeter to ensure it's working correctly.
Electrical Shorts
Electrical shorts can cause various problems, including blown fuses, malfunctioning components, or even fires.
- Check for Damaged Wiring: Look for frayed or exposed wires in the electrical system. A damaged wire can cause a short circuit. Repair or replace any damaged wiring.
- Test the Fuses: If a fuse blows, it indicates an electrical problem. Replace the fuse with one of the same amperage rating. If the new fuse blows immediately, there may be a short in the system that needs to be located and repaired.
5. Hoist and Winch Problems
Hoist Not Lifting or Lowering Properly
The hoist and winch are used to raise and lower the drill string. If they are not functioning correctly, it can disrupt the drilling process.
- Check the Cable or Chain: Inspect the hoist cable or chain for wear, damage, or fraying. A damaged cable or chain can cause the hoist to malfunction. Replace the cable or chain if necessary.
- Examine the Hoist Motor and Gearbox: A faulty motor or gearbox can prevent the hoist from operating properly. Check the motor for power and test the gearbox for proper engagement. If there are any issues, consult a professional for repair.
Winch Slippage
Winch slippage can occur when the brake is not engaging properly or the drum is worn.
- Adjust the Brake: If the winch is slipping, the brake may need adjustment. Refer to the manufacturer's manual for instructions on how to adjust the brake.
- Inspect the Winch Drum: A worn winch drum can cause the cable or chain to slip. Check the drum for signs of wear and replace it if necessary.
Conclusion
Troubleshooting water well drilling equipment requires a systematic approach and a good understanding of the equipment's components and functions. By regularly inspecting and maintaining your equipment, you can prevent many common problems and ensure its reliable operation.
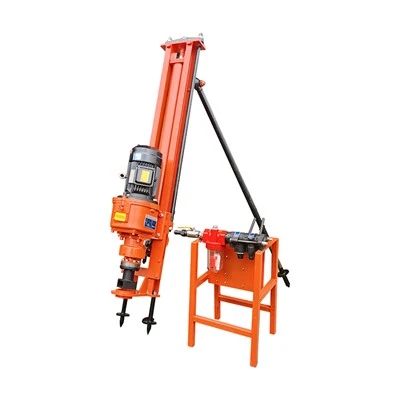
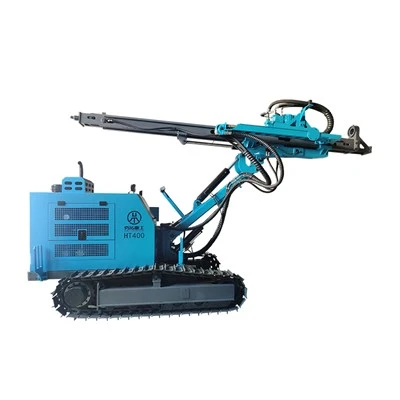
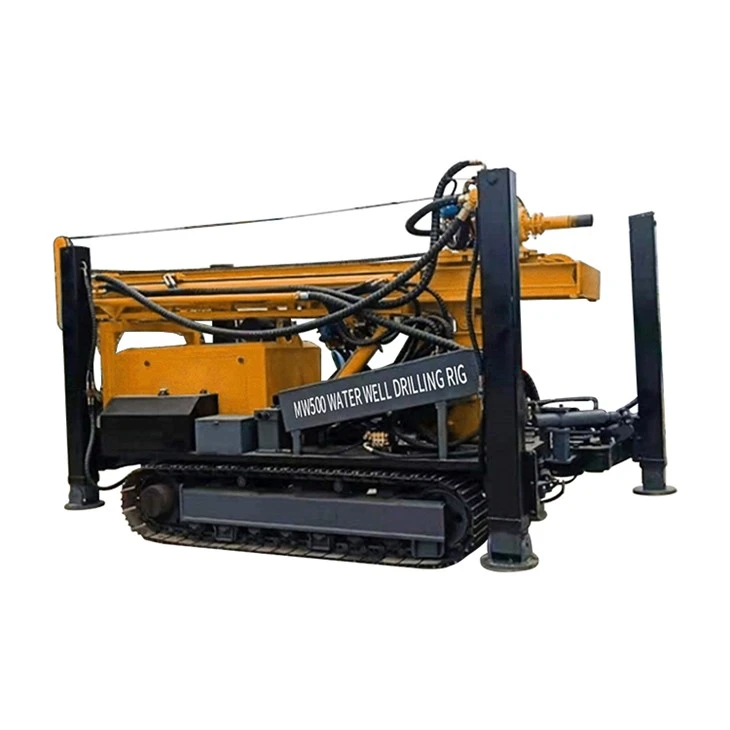
As a water well drilling equipment supplier, we offer a wide range of high - quality products, including reverse circulation water well drilling rig, water well drilling machine, and mobile Water Well Drill Rig. If you're experiencing problems with your drilling equipment or are looking to purchase new equipment, we're here to help. Contact us to discuss your needs and explore our product offerings. Our team of experts can provide you with the support and guidance you need to ensure successful water well drilling operations.
References
- Manufacturer's manuals for water well drilling equipment
- Industry - specific technical guides on equipment maintenance and troubleshooting
- Professional literature on water well drilling technology and practices