Installing a screw air compressor is a crucial process that requires careful planning and execution. As a trusted screw air compressor supplier, I understand the importance of providing clear guidance on this topic. In this blog, I will walk you through the step-by-step process of installing a screw air compressor, ensuring that you can do it safely and efficiently.
Step 1: Site Selection
The first step in installing a screw air compressor is to choose the right location. The site should meet the following criteria:
- Ventilation: Adequate ventilation is essential to prevent the compressor from overheating. The area should have good air circulation, and there should be no obstructions blocking the intake or exhaust vents.
- Space: The compressor needs enough space around it for maintenance and access. Refer to the manufacturer's specifications for the recommended clearance on all sides.
- Level Surface: The compressor should be installed on a flat, level surface to ensure stable operation and prevent excessive vibration.
- Protection from Elements: If the compressor is installed outdoors, it should be protected from rain, snow, and direct sunlight. A shelter or enclosure can be used to provide this protection.
Step 2: Prepare the Foundation
Once you have selected the site, you need to prepare the foundation. For small screw air compressors, a simple concrete pad may be sufficient. However, for larger compressors, a more substantial foundation may be required. Here are the steps to prepare a concrete foundation:
- Mark the Area: Use stakes and string to mark the area where the foundation will be poured. Make sure the dimensions match the compressor's footprint.
- Excavate the Area: Dig the area to the required depth, usually around 6 to 8 inches. Remove any loose soil or debris.
- Install Reinforcement: Place steel reinforcement bars (rebar) in the excavated area to strengthen the concrete. The rebar should be spaced evenly and tied together at the intersections.
- Form the Foundation: Build a form around the excavated area using wooden boards or metal forms. Make sure the form is level and square.
- Pour the Concrete: Mix the concrete according to the manufacturer's instructions and pour it into the form. Use a vibrator to remove any air bubbles and ensure the concrete is compacted.
- Finish the Surface: Once the concrete has been poured, use a trowel to smooth the surface. Allow the concrete to cure for at least 24 to 48 hours before installing the compressor.
Step 3: Unload and Position the Compressor
After the foundation has cured, it's time to unload and position the compressor. Here are the steps to follow:

- Use Proper Lifting Equipment: Use a forklift, crane, or other appropriate lifting equipment to unload the compressor from the truck. Make sure the lifting equipment is rated for the weight of the compressor.
- Position the Compressor: Carefully lower the compressor onto the foundation and align it with the mounting holes. Use shims to level the compressor if necessary.
- Secure the Compressor: Once the compressor is in position, use bolts or anchor rods to secure it to the foundation. Tighten the bolts to the recommended torque specified by the manufacturer.
Step 4: Connect the Piping
The next step is to connect the piping to the compressor. This includes the intake and discharge pipes, as well as any other auxiliary pipes. Here are the steps to follow:
- Choose the Right Pipes: Use pipes that are suitable for the compressor's operating pressure and temperature. The pipes should be made of high-quality materials, such as steel or copper.
- Install the Intake Pipe: Connect the intake pipe to the compressor's air intake filter. Make sure the pipe is properly sealed to prevent air leaks.
- Install the Discharge Pipe: Connect the discharge pipe to the compressor's outlet. The discharge pipe should be routed to the desired location, such as an air storage tank or a distribution system.
- Install Valves and Fittings: Install valves and fittings, such as shut-off valves, pressure relief valves, and check valves, as required by the system. Make sure the valves and fittings are properly installed and tightened.
- Test the Piping: Once the piping is installed, test it for leaks. Use a pressure gauge to check the pressure in the system and look for any signs of air or water leakage.
Step 5: Electrical Connections
Proper electrical connections are essential for the safe and reliable operation of the compressor. Here are the steps to follow:
- Check the Electrical Requirements: Refer to the compressor's manual to determine the electrical requirements, such as voltage, current, and phase. Make sure the electrical supply matches these requirements.
- Install a Disconnect Switch: Install a disconnect switch near the compressor to allow for easy shutdown in case of an emergency. The disconnect switch should be rated for the compressor's electrical load.
- Connect the Electrical Wires: Connect the electrical wires from the disconnect switch to the compressor's motor and control panel. Make sure the wires are properly sized and insulated.
- Ground the Compressor: Connect the compressor to a grounding system to prevent electrical shock. Use a grounding wire that is sized according to the electrical code.
- Test the Electrical System: Once the electrical connections are made, test the electrical system to ensure it is working properly. Use a multimeter to check the voltage and continuity of the circuits.
Step 6: Lubrication and Fluid Filling
Most screw air compressors require lubrication to reduce friction and wear. Here are the steps to follow for lubrication and fluid filling:
- Check the Lubricant Level: Before starting the compressor, check the lubricant level in the oil sump. Refer to the compressor's manual for the recommended lubricant type and level.
- Fill the Lubricant: If the lubricant level is low, fill it with the recommended lubricant. Use a funnel to avoid spills.
- Fill the Coolant (if applicable): Some screw air compressors have a cooling system that requires coolant. If your compressor has a coolant system, fill it with the recommended coolant according to the manufacturer's instructions.
Step 7: Startup and Testing
Once the installation is complete, it's time to start up the compressor and test it. Here are the steps to follow:
- Check the Controls: Make sure all the controls, such as the start/stop switch, pressure gauge, and temperature gauge, are in the proper position.
- Prime the Compressor (if necessary): Some compressors require priming before startup. Refer to the compressor's manual for the priming procedure.
- Start the Compressor: Turn on the power supply and start the compressor. Listen for any unusual noises or vibrations.
- Monitor the Pressure and Temperature: Monitor the pressure and temperature gauges to ensure they are within the normal operating range. If the pressure or temperature is too high or too low, stop the compressor immediately and check for problems.
- Test the Safety Devices: Test the safety devices, such as the pressure relief valve and the overheat protection switch, to ensure they are working properly.
- Run the Compressor for a Period of Time: Let the compressor run for at least 30 minutes to ensure it is operating smoothly. Check for any leaks or other problems during this time.
Step 8: Maintenance and Troubleshooting
After the compressor has been installed and tested, it's important to perform regular maintenance to keep it in good working condition. Here are some maintenance tips:
- Change the Lubricant Regularly: Follow the manufacturer's recommendations for changing the lubricant. This will help to prevent wear and tear on the compressor's components.
- Clean the Air Filters: Clean or replace the air filters regularly to ensure proper air intake.
- Inspect the Piping and Fittings: Check the piping and fittings for leaks and damage. Tighten any loose connections and replace any damaged parts.
- Monitor the Performance: Monitor the compressor's performance, such as the pressure, temperature, and flow rate, to detect any problems early.
If you encounter any problems with the compressor, refer to the manufacturer's troubleshooting guide or contact a qualified technician for assistance.
Conclusion
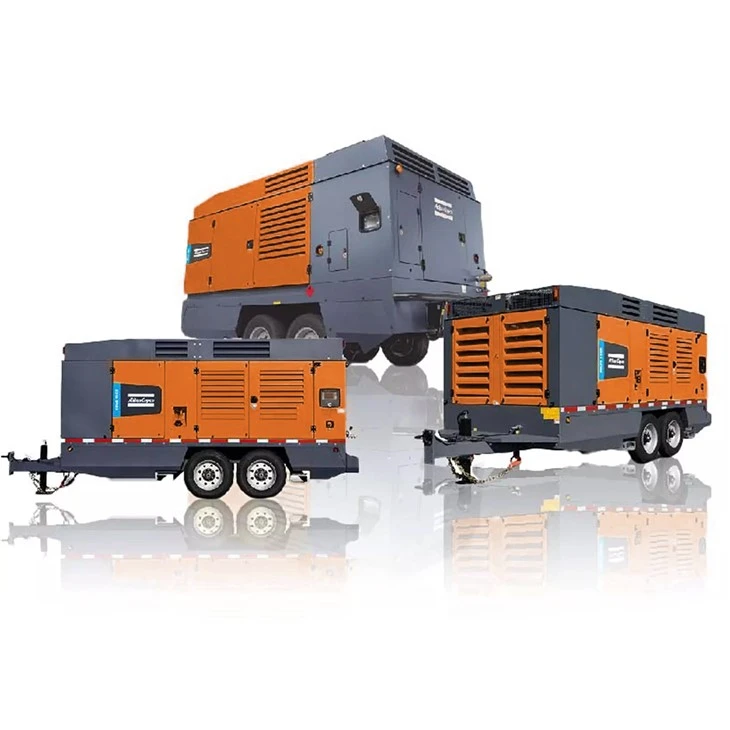
Installing a screw air compressor requires careful planning and attention to detail. By following the steps outlined in this blog, you can ensure a successful installation and a reliable operation of your compressor. If you have any questions or need further assistance, please feel free to contact us. We are a leading screw air compressor supplier and can provide you with high-quality compressors and professional installation services. Whether you are looking for an Atlas Copco High Pressure Compressor, a 2 wheels Screw Air Compressor, or an Industrial Rotary Screw Air Compressor, we have the right solution for you. Contact us today to discuss your specific requirements and start the procurement process.
References
- Compressor Installation Manuals from Various Manufacturers
- ASME Piping Codes
- Electrical Codes and Standards