Hey there, fellow drillers! As a drilling bits supplier, I've seen firsthand the challenges that come with trying to drill a straight hole. It might seem like a simple task, but getting that hole perfectly straight can make a huge difference in the success of your project. Whether you're working on a small DIY job or a large-scale construction project, drilling a straight hole is crucial. In this blog, I'll share some tips and tricks on how to drill a straight hole with a drilling bit, and also introduce you to some of the great products we offer.
Choosing the Right Drilling Bit
First things first, you need to pick the right drilling bit for the job. Different materials require different types of bits. For example, if you're drilling into wood, a standard twist bit will usually do the trick. But if you're working with metal, you'll need a high - speed steel or cobalt bit. And for masonry, a carbide - tipped or masonry bit is your best bet.
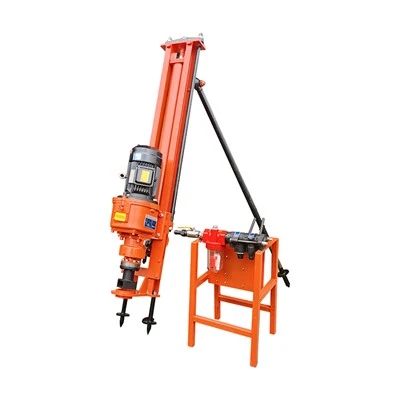
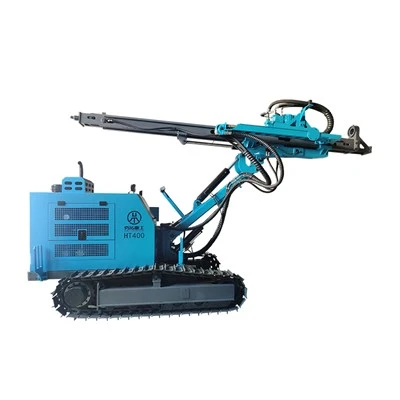
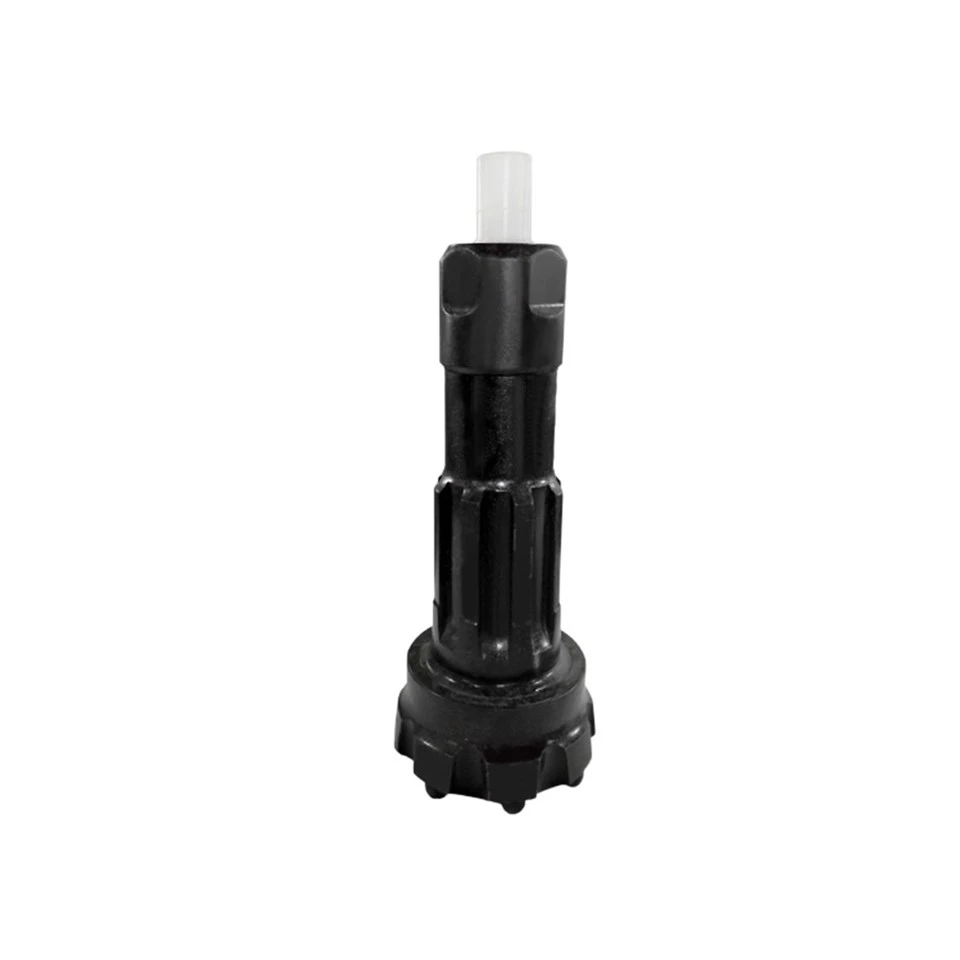
We offer a wide range of drilling bits, including Threaded Button Bits. These bits are great for rock drilling and are designed to provide a long service life. They're made with high - quality materials and advanced manufacturing techniques, so you can trust them to get the job done right. Another option is our dth Drill Bit. These bits are used in down - the - hole drilling applications and are known for their high efficiency and performance. And if you need a high - pressure option, check out our Down The Hole Drill Bit.
Preparing the Workspace
Before you start drilling, it's important to prepare your workspace. Make sure the surface you're drilling into is clean and free of debris. If there's any dirt or dust on the surface, it can cause the bit to wander and make it harder to drill a straight hole. You should also secure the material you're drilling. If it's a small piece, you can use a vise or clamps to hold it in place. For larger materials, you might need to use a workbench or other support structure.
Marking the spot where you want to drill is also crucial. Use a center punch to make a small indentation at the center of the hole. This will help the drill bit start in the right place and prevent it from slipping. You can also use a ruler or a square to make sure the mark is in the correct position.
Setting Up the Drill
Once your workspace is ready, it's time to set up your drill. Make sure the drill bit is properly inserted into the chuck. Tighten the chuck securely to prevent the bit from slipping during drilling. You should also adjust the drill speed according to the material you're drilling. For softer materials like wood, a higher speed is usually fine. But for harder materials like metal or masonry, a lower speed is better to avoid overheating the bit and causing it to break.
If your drill has a depth stop feature, use it. This will help you control the depth of the hole and ensure that it's consistent. You can set the depth stop to the desired depth before you start drilling.
Drilling Techniques
Now comes the actual drilling. Start the drill slowly and apply gentle pressure. Let the drill bit do the work. Don't force it too hard, as this can cause the bit to break or the hole to become crooked. As you drill, keep the drill perpendicular to the surface. You can use a level or a square to check the angle. If the drill starts to tilt, stop immediately and adjust it.
It's also a good idea to drill in short bursts. This will prevent the bit from overheating and make it easier to control the drilling process. After each burst, withdraw the drill bit slightly to clear the chips. This will help the bit cut more efficiently and reduce the risk of clogging.
Dealing with Challenges
Sometimes, you might encounter challenges while drilling. For example, if the material is hard or has a lot of grain, the bit might wander. In this case, you can use a pilot hole. Drill a small hole first with a smaller bit, and then use the larger bit to enlarge the hole. This will help guide the larger bit and keep it on track.
If the hole starts to get off - center, you can try using a drill guide. A drill guide is a tool that helps you keep the drill bit in a straight line. You can buy a drill guide at a hardware store or make one yourself.

Maintenance and Safety
After you're done drilling, it's important to take care of your drill and drill bits. Clean the drill bit to remove any chips or debris. You can use a wire brush or a cleaning solvent. Store the drill bit in a dry place to prevent rusting.
Safety is always a top priority when drilling. Wear safety glasses to protect your eyes from flying chips. If you're drilling in a dusty environment, wear a dust mask. And make sure to follow all the safety instructions in the drill's manual.
Conclusion
Drilling a straight hole with a drilling bit takes practice, but with the right tools and techniques, it's definitely achievable. As a drilling bits supplier, we're here to help you find the best products for your needs. Whether you're a professional contractor or a DIY enthusiast, our Threaded Button Bits, dth Drill Bit, and Down The Hole Drill Bit are designed to provide high - quality performance.
If you're interested in our products or have any questions about drilling, don't hesitate to reach out. We're always happy to help you with your drilling needs and discuss potential purchasing options.
References
- "Drilling Handbook" - A comprehensive guide on drilling techniques and best practices.
- Manufacturer's manuals for various drilling tools and bits.