Drilling a hole in a wooden door might seem like a daunting task, but with the right tools and techniques, it can be a straightforward process. As a drilling bits supplier, I've seen firsthand how the right drill bit can make all the difference in achieving a clean, precise hole. In this blog post, I'll guide you through the steps of drilling a hole in a wooden door, recommend the appropriate drill bits, and share some tips to ensure a successful outcome.
Step 1: Gather Your Tools and Materials
Before you start drilling, it's essential to gather all the necessary tools and materials. Here's a list of what you'll need:
- Drill: A power drill is the most efficient tool for drilling holes in a wooden door. Make sure your drill is in good working condition and has the appropriate speed settings.
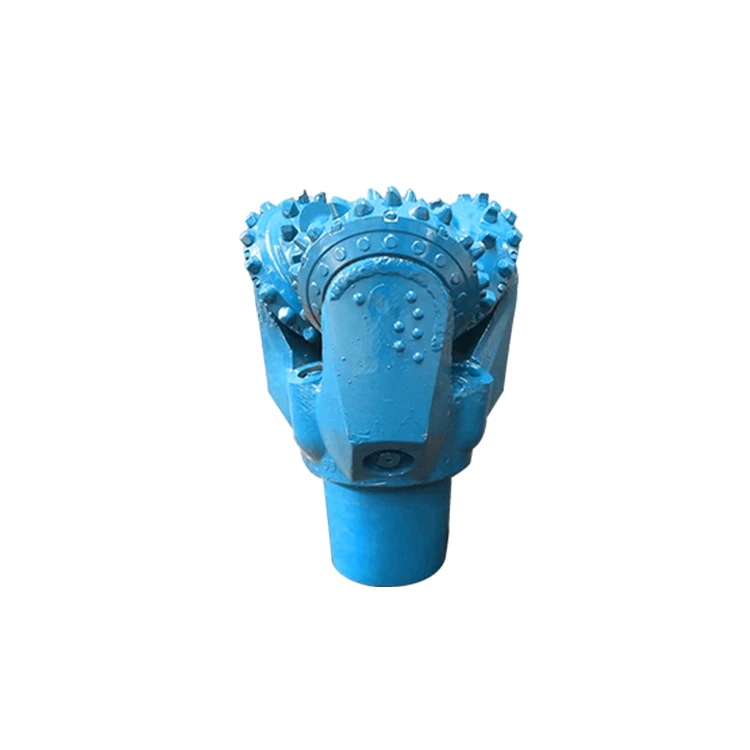
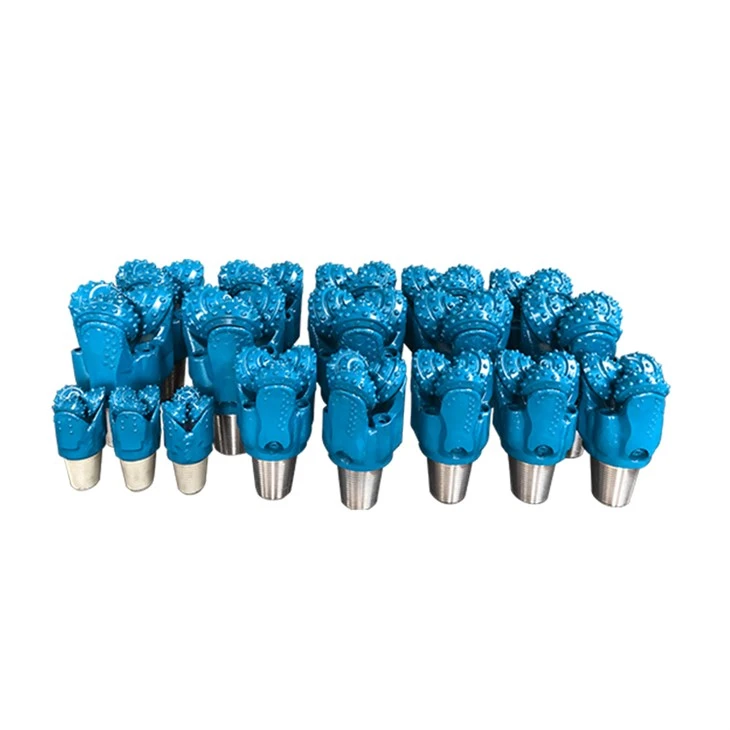
- Drill Bits: The type of drill bit you choose will depend on the size and type of hole you need to drill. For wooden doors, I recommend using a spade bit or a Forstner bit. Spade bits are ideal for drilling large, rough holes, while Forstner bits are better suited for drilling clean, precise holes. As a drilling bits supplier, I offer a wide range of drill bits, including dth Drill Bit, Tricone Bit, and PDC Bits. These bits are designed for various applications and can provide excellent performance.
- Measuring Tape: Use a measuring tape to mark the location and size of the hole you need to drill. This will help you ensure that the hole is in the right place and the correct size.
- Pencil: A pencil is a simple but essential tool for marking the location of the hole on the door.
- Clamps: If the door is not stable, you may need to use clamps to secure it in place. This will prevent the door from moving while you're drilling and ensure a more accurate hole.
- Safety Gear: Always wear safety gear, such as safety glasses and ear protection, when using a power drill. This will protect your eyes and ears from debris and noise.
Step 2: Mark the Location of the Hole
Once you have all your tools and materials ready, it's time to mark the location of the hole on the door. Use a measuring tape to measure and mark the center of the hole. Then, use a pencil to draw a small circle around the center mark. This will help you guide the drill bit and ensure that the hole is in the right place.
Step 3: Choose the Right Drill Bit
As mentioned earlier, the type of drill bit you choose will depend on the size and type of hole you need to drill. For most wooden doors, a spade bit or a Forstner bit is a good choice. Spade bits are available in various sizes and are ideal for drilling large, rough holes. Forstner bits, on the other hand, are designed to drill clean, precise holes and are available in sizes ranging from 1/4 inch to 2 inches.
When choosing a drill bit, make sure it is the right size for the hole you need to drill. If the drill bit is too small, you may need to drill multiple holes to achieve the desired size. If the drill bit is too large, it may cause the wood to splinter or crack.
Step 4: Prepare the Drill
Before you start drilling, it's important to prepare the drill. Make sure the drill bit is securely inserted into the drill chuck and tightened. Then, adjust the drill speed to the appropriate setting for the type of drill bit and the material you're drilling. For wooden doors, a medium speed setting is usually sufficient.
Step 5: Drill the Hole
Once the drill is prepared, it's time to start drilling the hole. Place the drill bit on the center mark you made earlier and apply gentle pressure to the drill. Start the drill and slowly feed the drill bit into the wood. As you drill, keep the drill perpendicular to the door to ensure a straight hole.
If you're using a spade bit, you may notice that the bit tends to wander or skip as you drill. To prevent this, you can start the hole with a smaller drill bit and then use the spade bit to enlarge the hole. This will help guide the spade bit and prevent it from wandering.
As you drill, periodically stop and remove the drill bit to clear away any wood chips or debris. This will prevent the drill bit from overheating and ensure a smoother drilling process.
Step 6: Finish the Hole
Once you've drilled the hole to the desired depth, stop the drill and remove the drill bit from the wood. Use a file or sandpaper to smooth the edges of the hole and remove any rough spots or splinters. This will give the hole a clean, professional look.
Step 7: Clean Up
After you've finished drilling the hole, it's important to clean up the work area. Use a vacuum cleaner or a broom to sweep up any wood chips or debris. Then, wipe down the door with a damp cloth to remove any dust or dirt.
Tips for Drilling Holes in Wooden Doors
- Use a Pilot Hole: If you're drilling a large hole, it's a good idea to start with a pilot hole. A pilot hole is a small hole that you drill first to guide the larger drill bit. This will help prevent the wood from splintering and ensure a more accurate hole.
- Drill Slowly: When drilling a wooden door, it's important to drill slowly and steadily. This will prevent the wood from overheating and reduce the risk of splintering or cracking.
- Use a Backing Board: If you're drilling through the door, it's a good idea to place a backing board behind the door. This will prevent the wood from splintering on the back side of the door.
- Lubricate the Drill Bit: If you're drilling a hard or dense wood, you may need to lubricate the drill bit with a little bit of oil or wax. This will help reduce friction and make the drilling process easier.
- Practice on a Scrap Piece of Wood: If you're new to drilling holes in wooden doors, it's a good idea to practice on a scrap piece of wood first. This will help you get a feel for the drill and the drilling process and ensure that you're comfortable before you start drilling on the actual door.
Conclusion
Drilling a hole in a wooden door is a relatively simple process that can be completed with the right tools and techniques. By following the steps outlined in this blog post and using the tips and recommendations provided, you can drill a clean, precise hole in a wooden door with ease. As a drilling bits supplier, I'm committed to providing high-quality drill bits and excellent customer service. If you have any questions or need help choosing the right drill bit for your project, please don't hesitate to contact me. I'd be happy to assist you.
References
- Woodworking for Beginners: A Comprehensive Guide to Woodworking Techniques and Tools.
- The Complete Book of Home Improvement: DIY Projects for Every Room in the House.
- Drilling Bits: A Guide to Choosing the Right Drill Bit for Your Project.